Installation Instructions
This page contains instructions for:
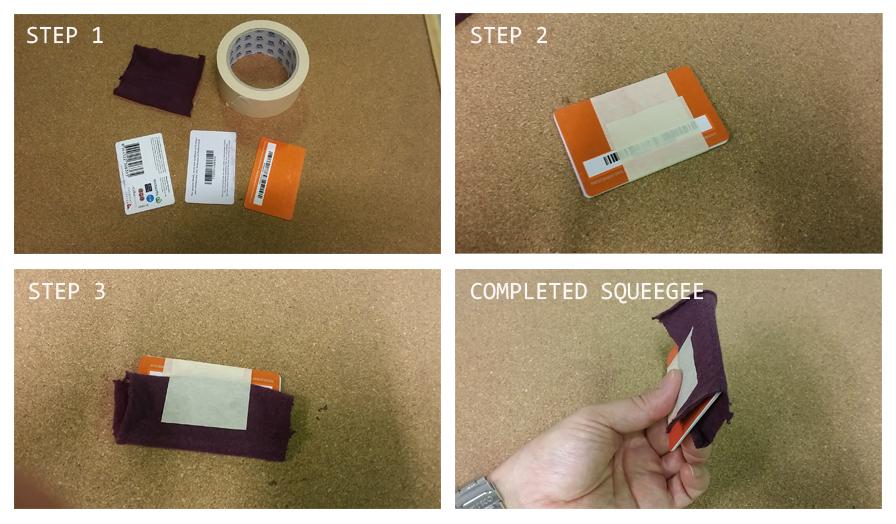
Creating the squeegee tool
Installing GT Side Racing Stripes
Installing Scrolls and Decals
1. Find three (3) credit cards or similar, masking tape and a piece of soft cloth.
2. Fix the cards together evenly using the masking tape.
3. Attach the cloth tightly using masking tape.
Installation instructions for GT Side Racing Stripes.
Prior to installation, place the stripe on a smooth surface and press the stripe down by running the squeegee over the entire surface. Clean the surface area of the car where the stripe will be applied using a small amount of spirit based cleaner and water. Do not use oil-based liquids such as turps. The area must be squeaky clean and free of any wax, oil or grease of any kind.
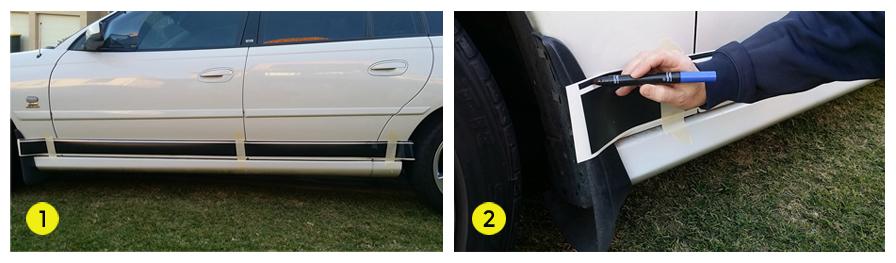 Step 1. Position the stripe in the desired position and place three strips of tape on both ends and centre.
Step 2. In the case of a generic stripe, mark the stripe for trimming and trim as required. Most stripes are made to fit and will not require trimming.
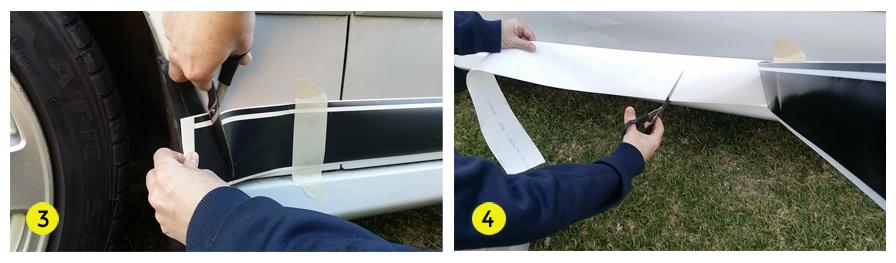 Step 3. Trim stripe as marked.
Step 4. Carefully peel the stripe away from the backing paper and cut the backing paper away near the centre masking tape.
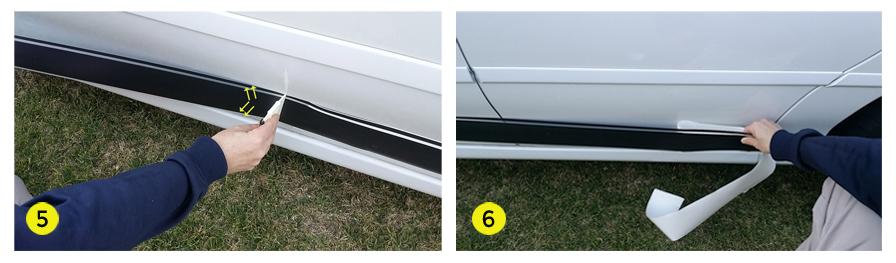 Step 5. While keeping the stripe aligned and close to the surface, begin pressing the stripe in a motion from centre outwards.
Step 6. Follow the same procedure on the other part of the stripe, peeling the backing paper away as you move along.
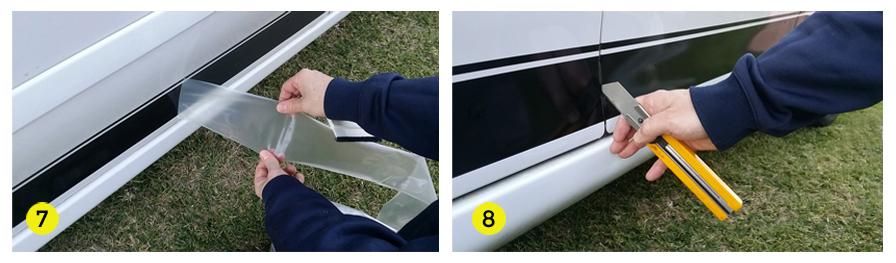 Step 7. Now the stripe is down, begin removing the application film slowly to ensure it does not lift from the duco surface. If any small bubbles are present once completed you may carefully pierce them with a pin.
Step 8. Carefully cut the stripe at door openings and panel joints. You may use a ruler to achieve a straight cut.
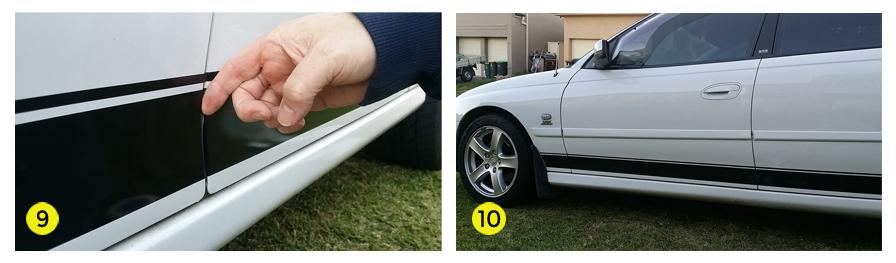 Step 9. Fold eccess film around door and panel edges.
10. GT racing stripe is now successfully installed.
Stripe Installation Reference Video
Installing Scrolls and Decals.
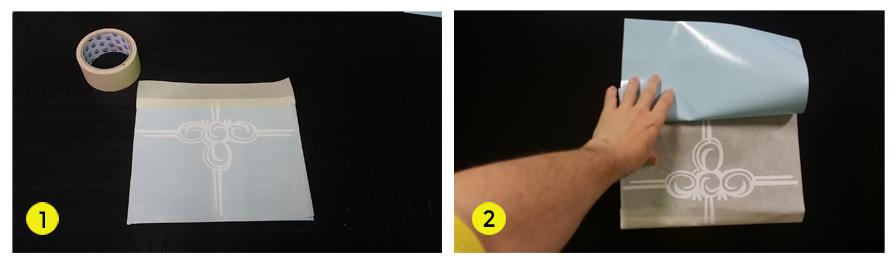 Step 1. Place decal in desired position apply a strip of tape accross the top and press down tape when in position.
Step 2. Flip decal upwards and remove the backing paper.
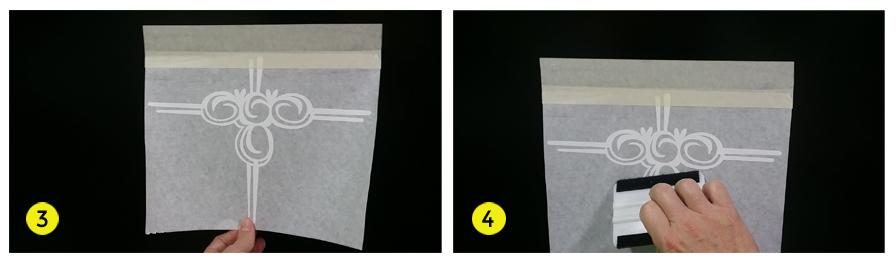 Step 3. With backing paper removed bring decal down and hold slightly off the surface.
Step 4. Press the decal down using the squeegee/applicator tool pressing from centre out.
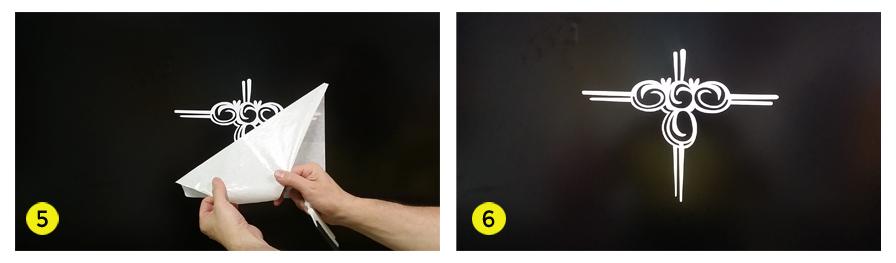 Step 5. Slowly peel away the application paper at a sharp angle as in the image.
Step 6. Decal is applied successfully.